I ♥ DIY, not necessarily to save money, because I know it costs more to make it yourself with all the material and labor, but really to feel creative and seeing the end product come to life. That accomplished feeling is just hard to explain with words. For one of my client’s weddings, we tackled a couple of fun DIY wedding projects together and it was a fun experience for both of us!
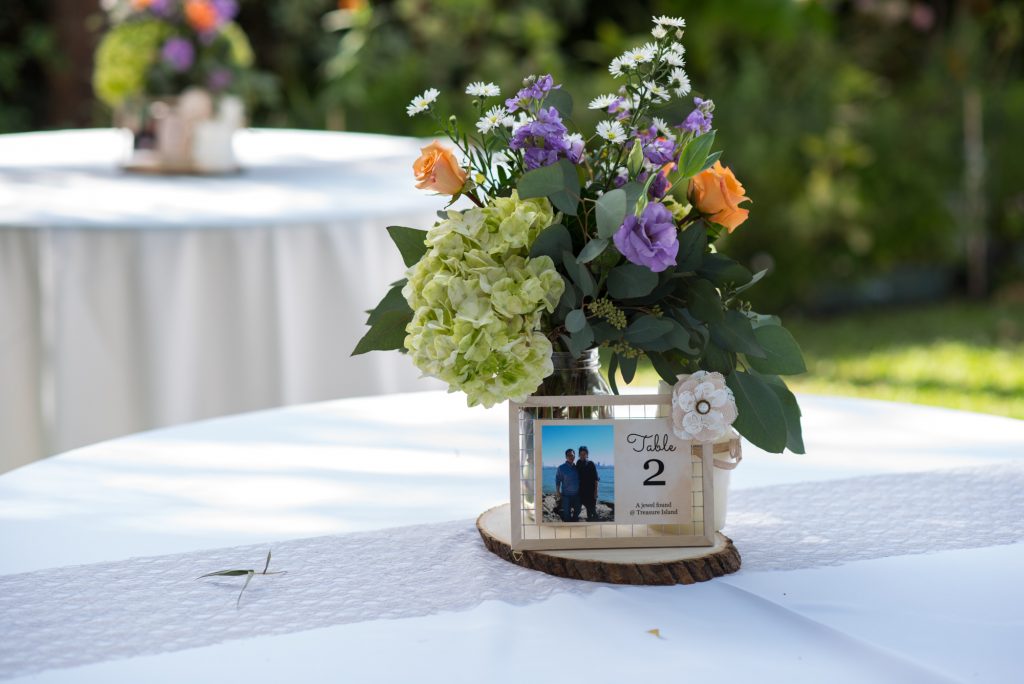
Amy’s wedding was set in a private garden venue under a giant camphor tree covered with twinkle lights. She wanted a rustic chic look and feel, so we utilized elements such as wood slices, mason jars, wild flowers, kraft paper in the design of the wedding. One of the project was to make personalized guest table numbers. You can totally do it, too! The mesh wired frame is from Daiso Japan, a shop similar to 99 Cent store and Dollar Tree but with cute Japanese stuff. Everything in the store is $1.50. Products they carry include stationery, kitchen items, pet supplies, gift packaging, and Japanese snacks.
Materials You’ll Need:
- Mesh-wired Frame (Daiso Japan)
- Double Sided Tape (Daiso Japan)
- Paper Flower Clips (Daiso Japan) or Burlap/Fabric Flower clips from Michael’s.
Others Resources:
- Canva.com – This is the free online app to design your table number.
- Costco, CVS, Walmart, Walgreens – Any one-hour photo print shops.
Instructions:
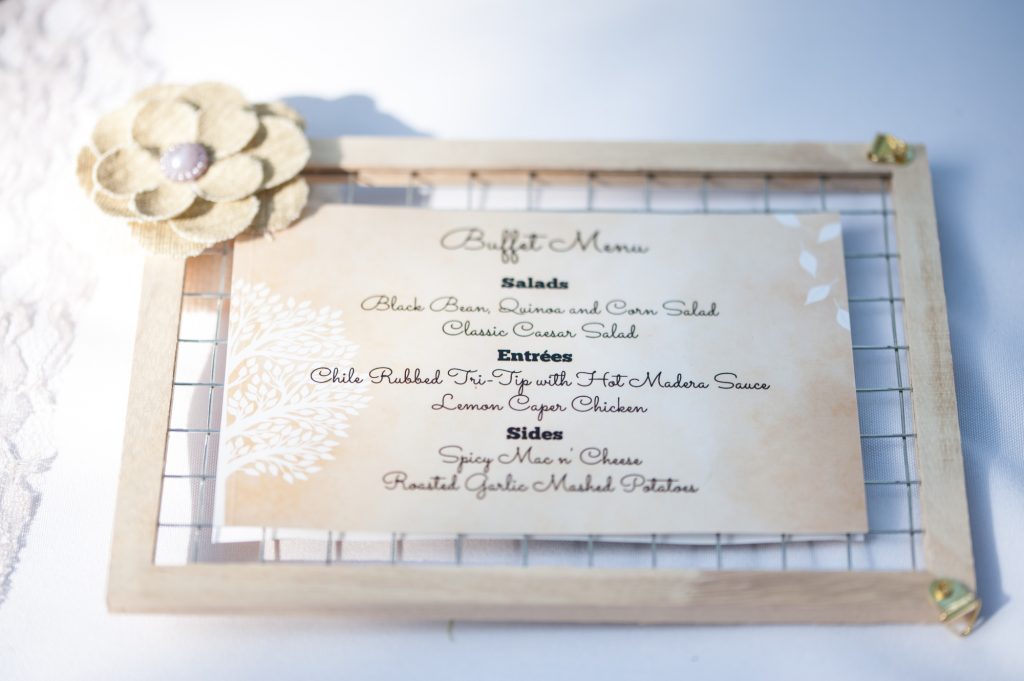
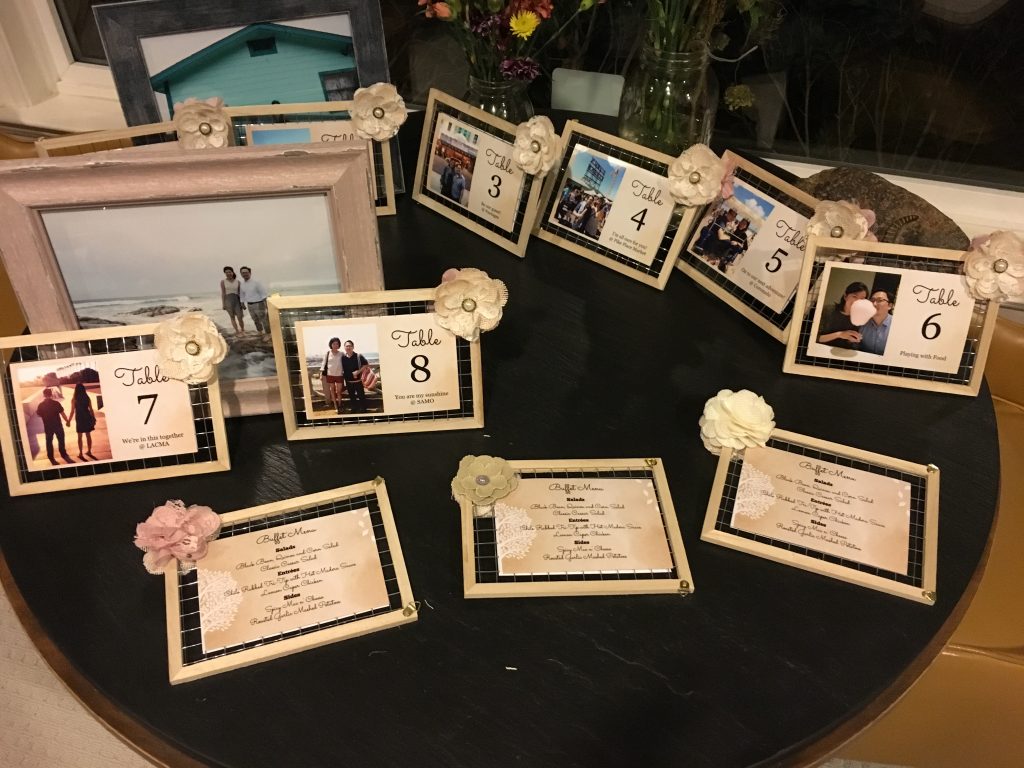
- We gathered Amy’s favorite date night and travel photos to create the table number signs. On the back side of the frame, we added a second print with the menu.
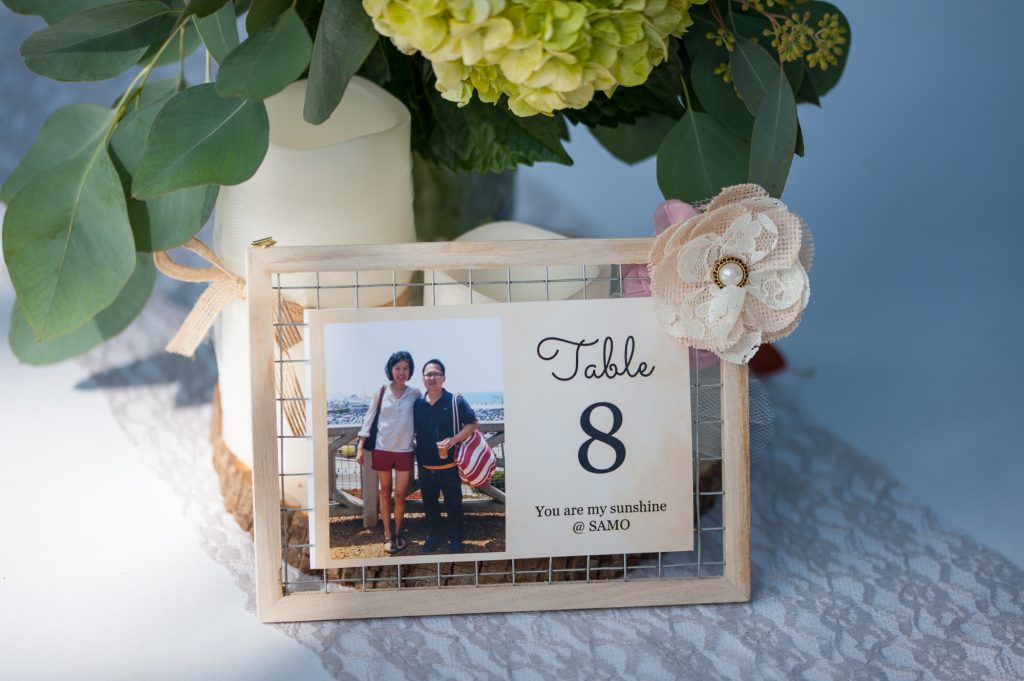
- Using Canva.com, you can quickly put together a layout and duplicate the page then just replace the photo and change the number and wording. Amy’s table numbers included a short blurb about where the photo was taken. The size of this particular project is 4″ x 6″, which is perfect print size at your local Costco or one hour photo print shops.
- I created the designs, Amy ordered the prints, assembled each frame, and added a rustic burlap/fabric flower as accent. Just use double sided tape to stick the prints to mesh frames. Make sure they are centered. It’s super easy, elegant, and personalized!