DIY Tutorial #1
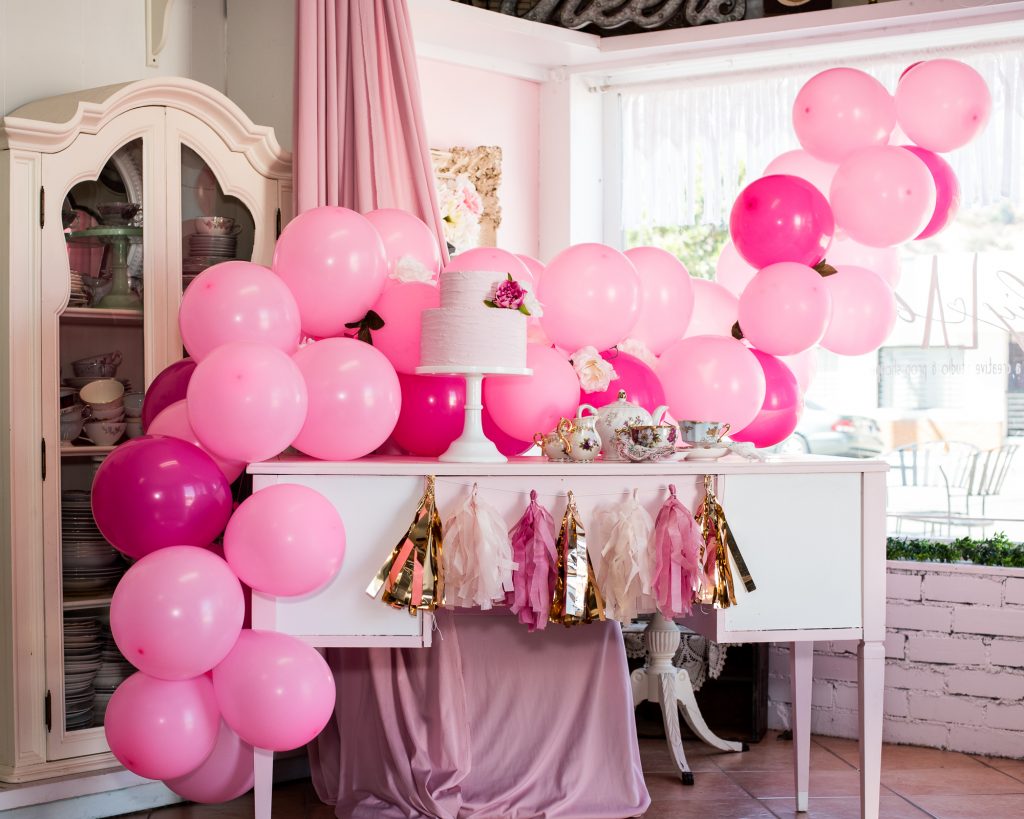
The latest trend in wedding decoration is an over-the-top gorgeous balloon garland. Use it to decorate the wedding venue such as ceremony altar, reception entrance, cake table, or sweetheart table. You can easily make one yourself following this DIY Balloon Garland Tutorial. Featured in DIY Weddings Magazine. Don’t forget to check out our other tutorial posts! Vintage props by DIY LA Bride. Photos by Amy Haberland Photography
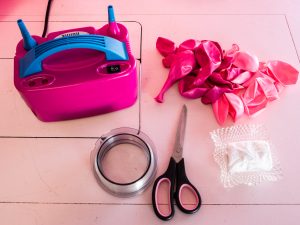 Material & Tools
- Balloons of different sizes and colors
- Balloon Pump
- Needle
- Fishing Line
- Low-Temperature Glue Gun
- Scissors
- Tape or removable ceiling or wall hook
Step 1:
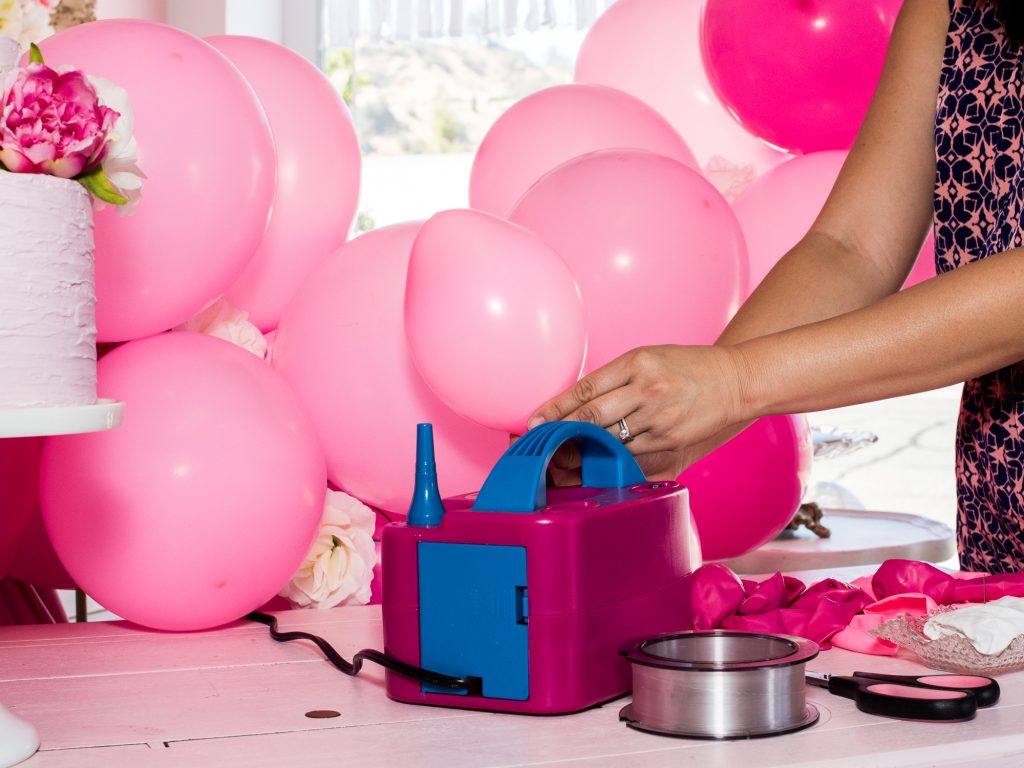
Inflate about 50-60 balloons using an electric pump or hand pump. You can order balloons in varying sizes from 5” to 14″ for small garland and up to 36″ for big ones.
Step 2:
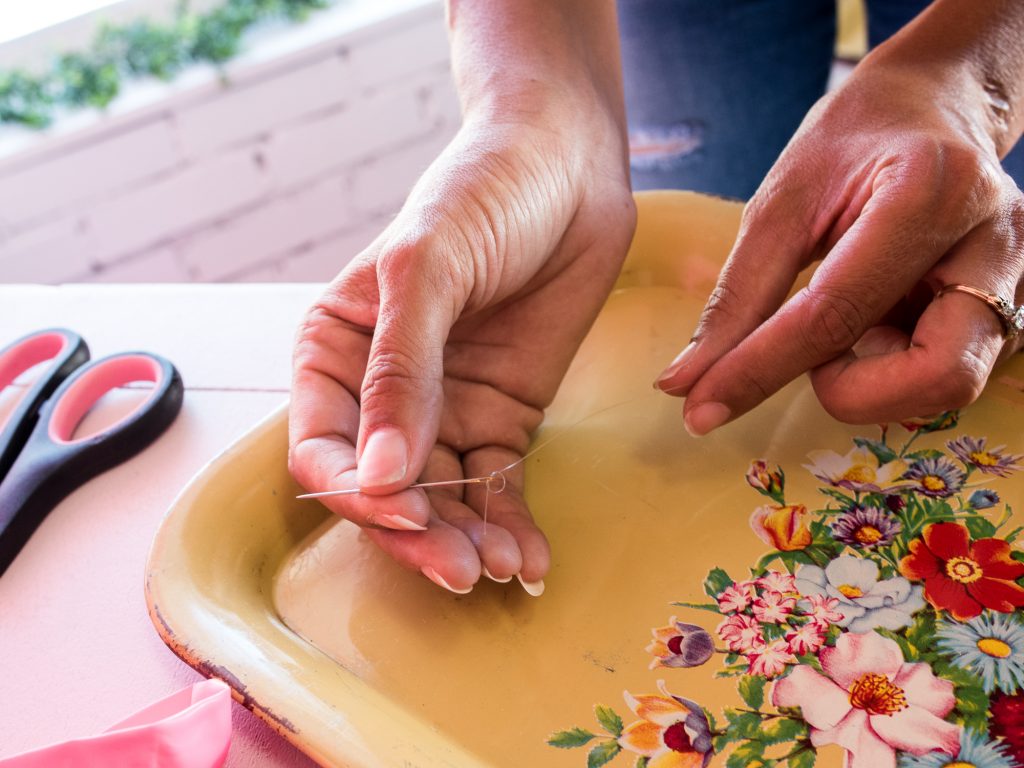
Decide on the length of your garland. The one in the photo is about 6 feet long. Measure the fishing line and make a loop knot at one end. Thread the needle with the other end of the fishing line and tie a knot.
Step 3:
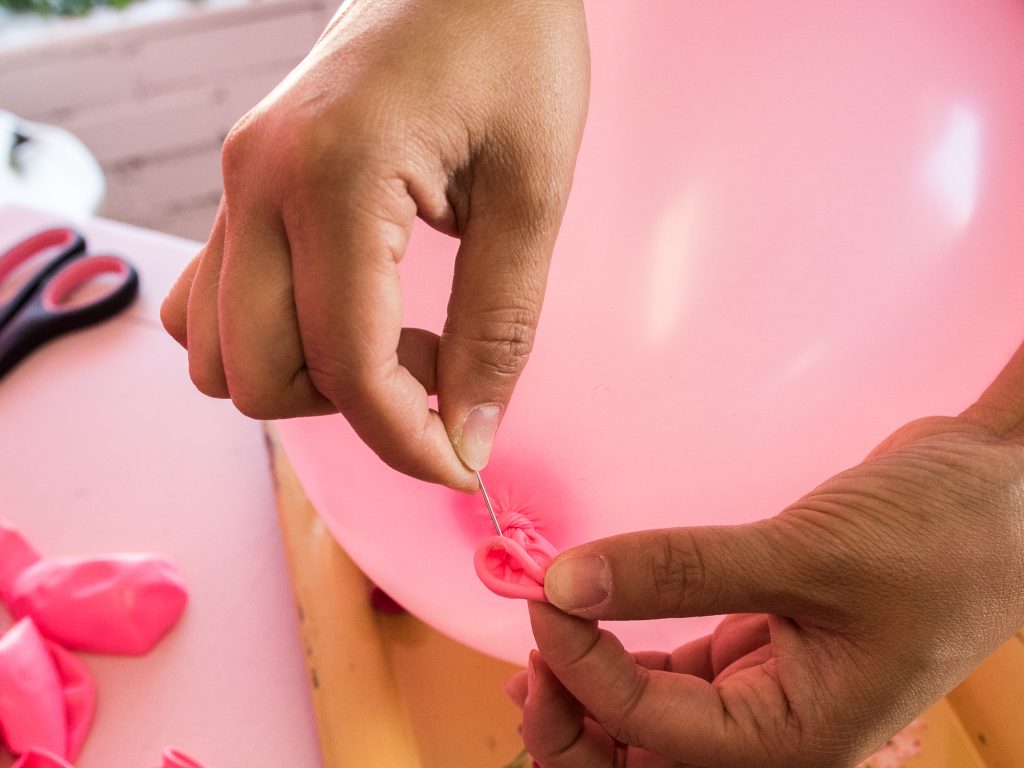
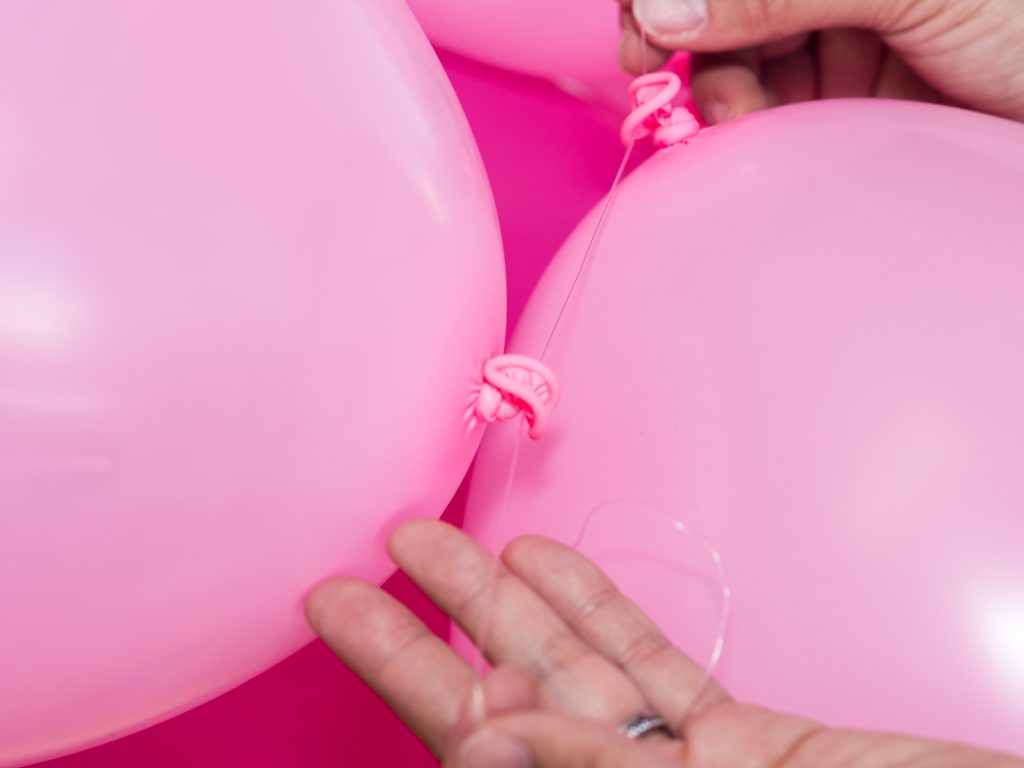
Pierce the needle into the balloon tie-off and pull the fishing line through. Push the balloon down to the end of line and string on another, alternating colors and sizes.
Step 4:
Cluster the balloons by adjusting them on the fishing line tightly. Use a low-temperature glue gun to add on more balloons to create volume.
Step 5:
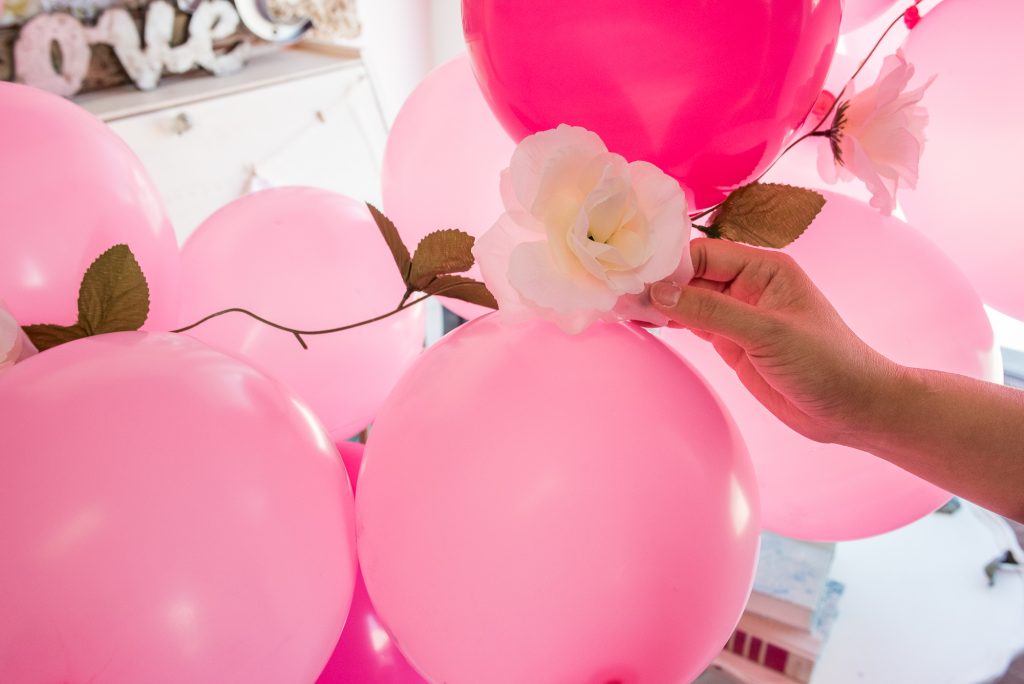
Add any additional embellishments such as silk flowers, greenery, tassels, ribbons, etc. to give the balloon garland a polished look.
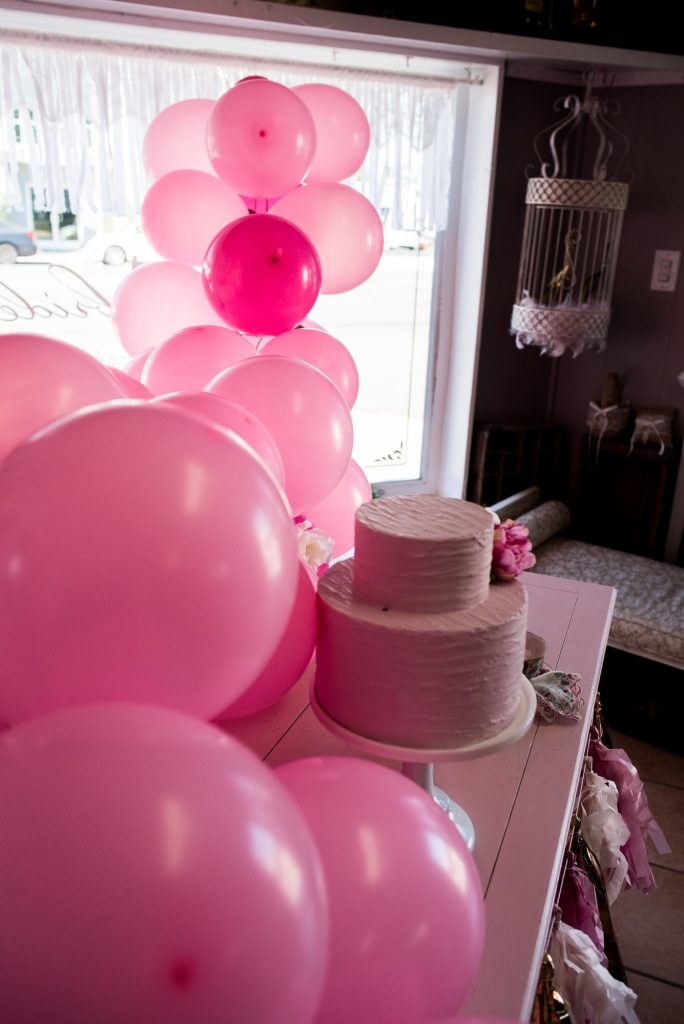
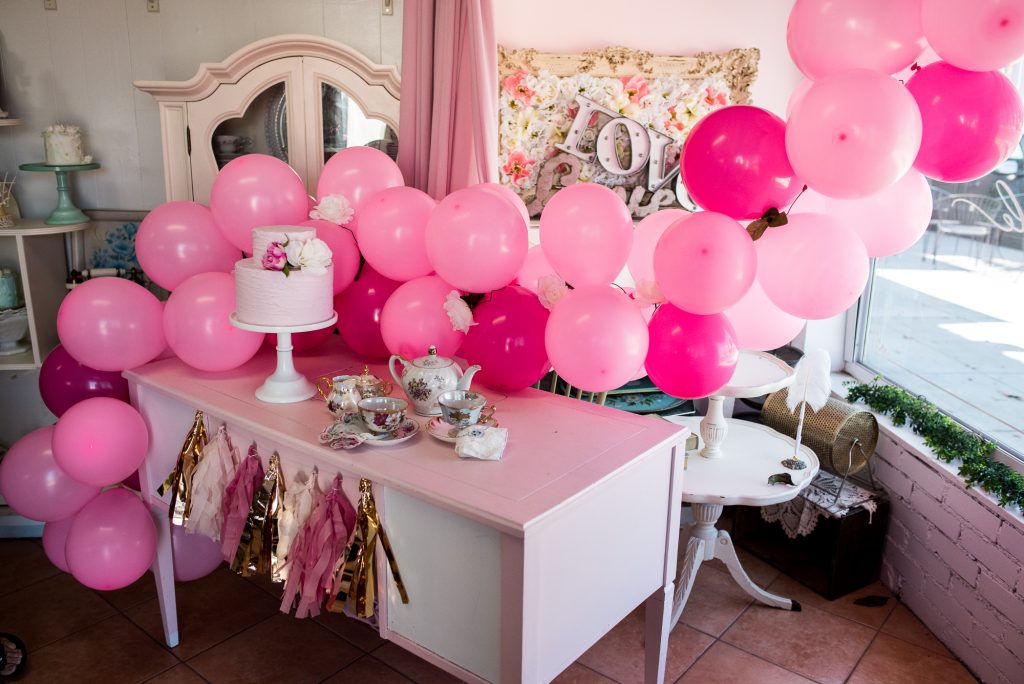
To install the balloon garland, you can hang it from the ceiling with a removable ceiling hook, tape the fishing line on the wall, or adorn it on the dessert table. Make sure to check your venue’s rules before installation!

Great info here! Who knew it was so easy to do yourself?
That’s awesome! Love the little step by step 🙂
I like the idea of adding flowers/other embellishments to a balloon garland.
Thank you for this tutorial. 🙂