According to Maddie, her third-grade teacher loves tea, so we made her a teacup thank you card.
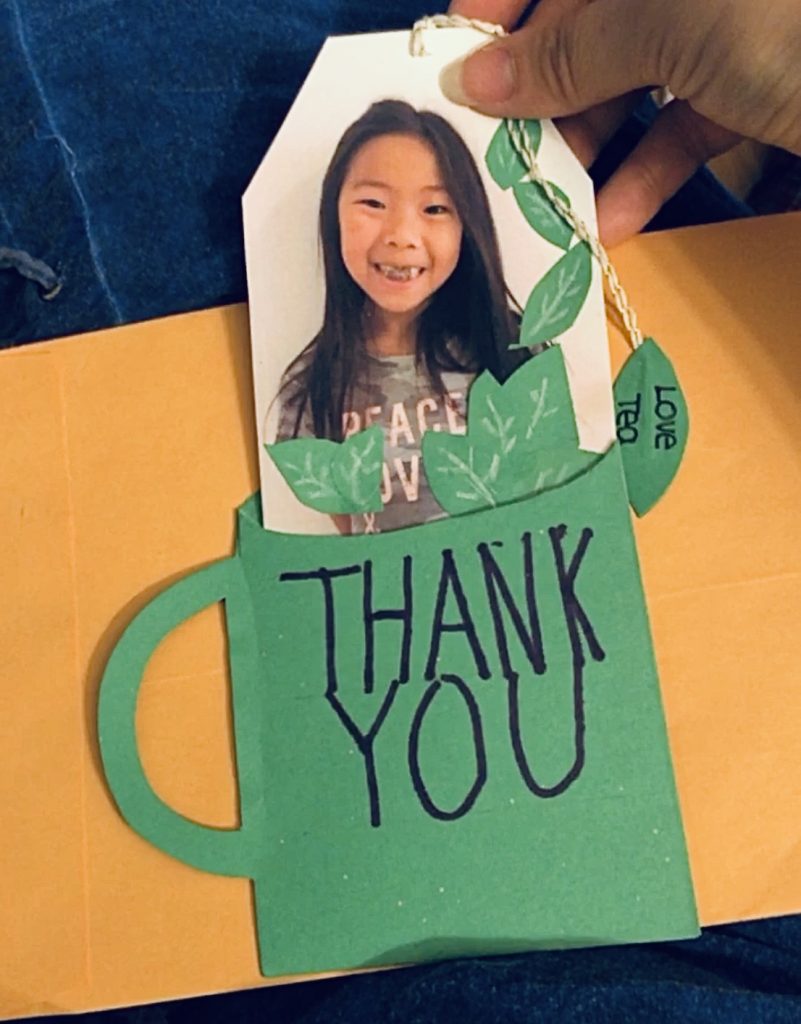
Teacup Thank You Card
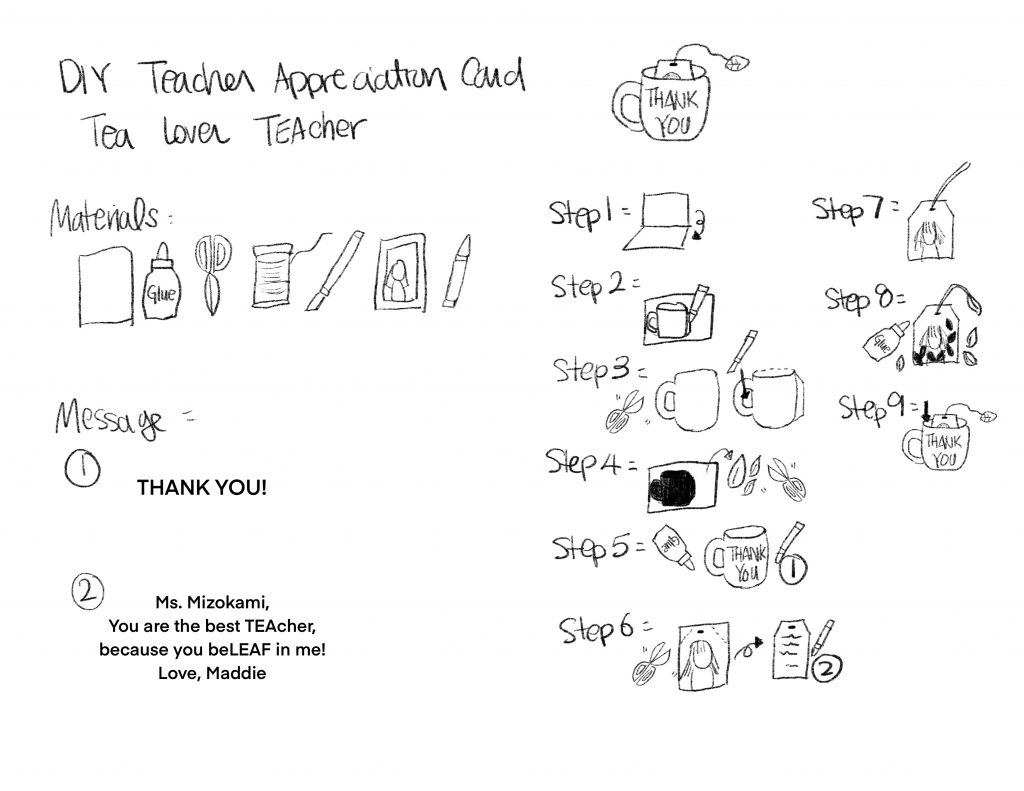
Materials:
- Construction paper (Any color, we used green since we also need green for the tea leaves)
- Glue
- Scissors
- Thread or thin twine
- Exacto Knife
- Photo of student
- Marker or Crayon
Instructions:
Step 1: Fold the construction paper in half so we can cut double of the tea cup shape.
Step 2: Draw a teacup or mug with a pencil. Make sure to add glue flaps.
Step 3: Cut out the teacup shape. Use the Exacto knife to cut the hole in the handle. Take one of the shapes and trim the top so the top sheet has an opening.
Step 4: Use the excess paper to cut out little leaves.
Step 5: Glue the top and bottom sheet of the teacup around the edges to create a pocket. When the glue drys, write THANK YOU on the front of the card.
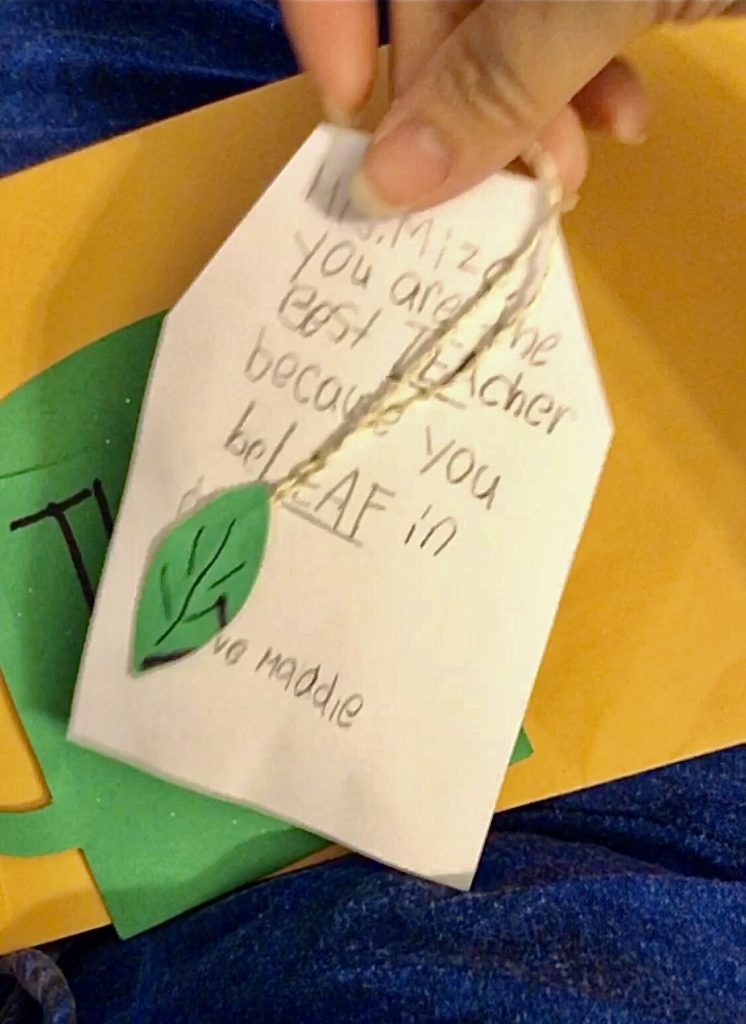
Step 6: Cut the top two corners of the student’s photo to create a tea bag shape. Pierce a hole or cut a slit in the center for the thread. Write a message to the teacher, “Dear Ms. Mizokami, You are the best TEAcher, because you beLEAF in me! Love, Maddie” Make sure you capitalize TEA in teacher and LEAF in be-leaf (believe).
Step 7: Insert the thread or twine into the middle slit. Glue two pieces of leaf cutouts at the end.
Step 8: Glue small leaves on the bottom of the photo to make it look like tea leaves.
Step 9: Insert the photo into the teacup opening. Ta-Da!
Optional: We emailed our teacher a Starbucks gift card so she can grab some tea at the drive-thru.